
FACEBOOK History / 201906


Photo Index 201906
20190617
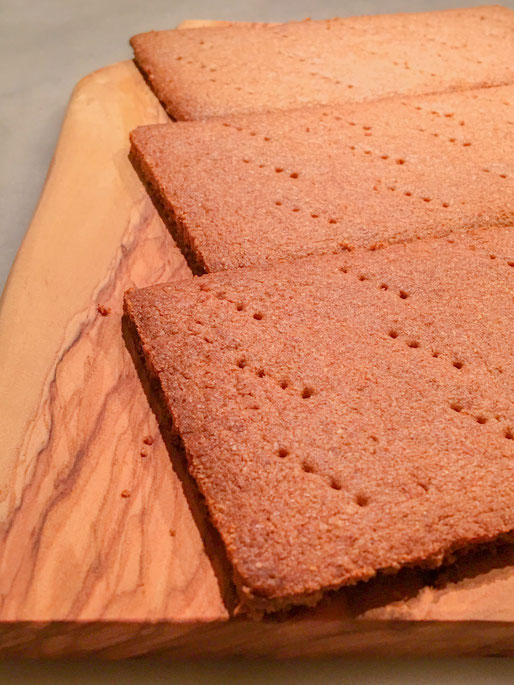
GRAHAM CRACKERS, prototype
グラハムクラッカー、試作品
18x9cm、5mm厚(シルパンで)
iPhoneのスナップ(初回の焼き)
一週間弱で食べるなら、いい状態のバターで、いつものような材料でつくれる。
ざくざく系。
おいしい。安心。
x0.5, x1, x1.5できりがよいよう配合は多少動かし、
FPのスコーンの方法と同じイメージで準備
(粉類直接計量、コロコロ冷蔵バター、水分の順)
にしましたが、
原 亜樹子さんのレシピ、
「グラハムクラッカー」『アメリカ郷土菓子』のレシピから。
===
★FPとKA
お菓子をつくる途中で、
粉がとびちるのは残念、
そんなときはFP(MM)はうれしい
FP(MM): マジミックスのフードプロセッサー
せっかくあるので使う感じですが、
メンテが楽(銀色のはさっと拭ける、食洗器前提なら)、
ガラスでないのでついあまり使わず(少なくとも熱いものはいれない、にしています)
ですが
クラス用でx1では足りないときに便利
FP(N): ナショナルのフードプロセッサー
食べ物に安心なガラス製
メンテがつい気になりがちなのが難
スコーン、パートブリゼ、スノウボウルにはFPがよいですが、
ボウルかKAでつくるほうが、メンテ、洗い物的に楽
それでできるだけKAバージョンでつくることが多いです
これもKAバージョンに、、、
でもこのグラハムクラッカー、FP(MM)でつくるのは、
とても楽で、きれいでした
===
(グラハムクラッカーとは別に、
"The ELI'S CHEESECAKE COOKBOOK"の、
ショートブレッドベースのクッキー台、
とってもおいしいのだけど、この試作はかなり長くなりそう)

20190612
Praline Chocolate Bar
プラリネショコラバー
薄い板状にしたプラリネを、1.5cm幅でカット、
まではよいのですが、
うっかりすると、
ケースにぴったり入らない
プラリネもチョコも、2mmくらいがおいしい
湿気に弱いプラリネ、両面はテンパリングチョコにしたい
カット断面はきれいなのでプラリネが見えてもよい
プラリネは、できたての熱々で、力をかけて薄くのばすのですが、
あと一歩、薄くする力が足りてません
(重いめん棒の力をかりても、
クラスでつくってもらったほうが薄かったので、
あと数センチ身長が高いとよかったかも
テーブル移動をすると冷めてしまうし
もう少し力を!)
1枚分つくってのばして
1ケース9本分ちょうど
(9本以上つくるには、プラリネからつくり直し)
両面ギッターシートを使うプラリネショコラSと、
どちらがおすすめか迷うのですが
食べやすいのはバーのほう?
多めのチョコで、(例外的に)余分をつけたままラフにとじ、
はずしてからナイフでカット (この型ならではですが)
ガナッシュが無難だけれど、このサイズでは重い、
ガナッシュにプラリネを混ぜると湿気る
食べておいしいのはプラリネショコラ、
もう少し別の型を探すか、つくり慣れるか・・・
検討です

20190605
Sponge cakes, φ3.5inches x 3
スポンジケーキ φ9cm x 3
卵 2こ(40+70g / 110g)
グラニュー糖 60g
薄力粉 60g
バター(溶かす) 20g
1:2シロップ 小さじ1
だけです
30x40天パンが入るオーブンで横並びに3つ、
で、これはx2/3
つくりやすいx1に比べ、たて強(KA10)、たて弱(KA6)を短く
(薄焼きスポンジはx2/3はおすすめしませんが、これは、それよりはつくりやすい)
3こになって変わるところは少し
型入れ、手早く、なるべくさわらず
(123 321ではなく、
123と入れるのがよいです。
多少量が違ってもよいです)
個数が多いと庫内が冷めがち、
天パンに並べておいて、いっきに入れます
あとは同じ
---
追記
20分くらいで焼けます
横ひと並べてオーブンに入らない分は、1回転待たせておやつ用に焼くとよいです
20190605
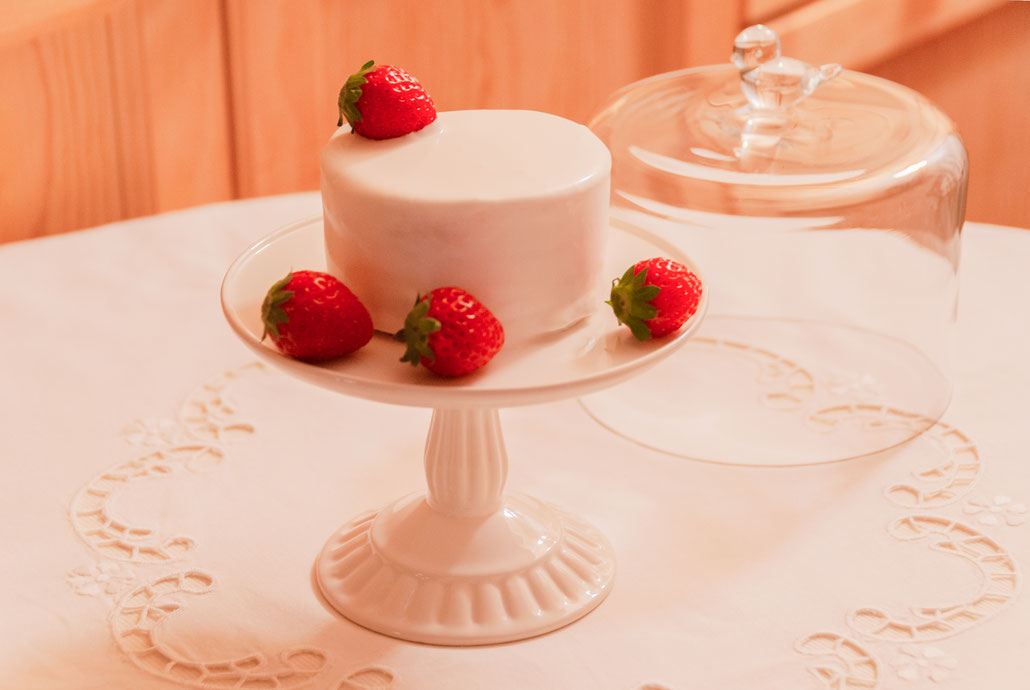
Japanese Strawberry Shortcake, φ3.15 inches
ショートケーキ φ8 cm
Most popular, classic Japanese cake for Birthday, for Christmas, and for every occasion.
How to assemble.
1. Slice a φ9cm (3.5inch) sponge cake into 2 sheets (1.5cm / 0.5 - 0.6inches).
(2. Cut two sponge sheets by using a φ8cm (3.15inch) stainless steel cake ring/cutter,
which easily smooth sides of a cake even with whipped cream.)
3. Place a sponge sheet on a cake turntable.
(Make sure to to use what was a bottom of the sponge as the bottom of the cake.)
4. Brush cake layers (All, except the bottom. Each before use.) with Sugar Syrup.
(Sugar Syrup: water and sugar (2:1 ratio), No-Heat, Just Stirred.)
5. Cut just one or two strawberries into small chunks.
(Not too small, not too large, but any size. This adds the cake height.)
6. Whip cream with a whisk.
(Separate the cream partly, while it is still soft, into a smaller bowl for later use.)
7. Spread (slightly hard) whipped cream by using straight spatula with minimum move,
then scatter the strawberries and cover them with added cream (this layer can be thick).
8. Place the second sponge slice Syrup brushed, then brush again the cake top and
sides with Syrup.
9. Cover the whole cake with (slightly hard) whipped cream (use straight spatula minimum) and refrigerate.
10. Spread (slightly soft) whipped cream to cover the whole cake (without "touching" too much).
Refrigerate the cake before serve (Best served when syrup inside is cold).
Decorate with strawberries just before serving (Serve while strawberries are fresh).
★Sponge★
Bake it fluffy. Though this could take months (or at least days), as this might be the most profound cake.
Once learned some checkpoints, it is easier:
Beat eggs and sugar, after hot water bathed.
(With Kitchen Aid, I count 20 to mix eggs, 10 to mix sugar, 60 to warm.)
Use Kitchen Aid (or imitate the move of Kitchen Aid),
10(High) for 2 minutes to increase its volume
then 6(Medium) for 2 minutes to make it silky soft.
( "2 +2 minutes" is for 2 eggs batch.
Use 02:30+02:30 for 3 eggs batch of φ18cm).
"Sprinkle" the flour then mix it with a rubber spatula moving "\\\/" like Japanese letter "tu, ツ".
This should be amazingly quick and this makes the cake melt in your mouth
(never over-mix once flour was added).
★Cream★
Make sure that cream is always kept very cold
especially while whipping and therefore whip cream in an ice water bath
by filling something like a Kitchen Aid Water Jacket with enough ice cubes.
Once whipped hard, spread within minimum movement.
Fresh Cream in Japan with 45-48% butterfat. I almost always use “TANNA Fresh Cream”
though that can be stored less than 3-4 days.
Use one with at least 42% butterfat (whipping 42% needs more power).
★Strawberries★
Take notice that strawberries are very weak:
What is most important, I wonder, is to buy fresh strawberries.
When I need to buy the day before use, I need extra care not to be pushed in a bag and to store them refrigerated.
It is easier when I can buy strawberries just the day I use.
I focused on Sponge, Cream and Strawberries.
As you can easily guess, that is because these are the 3 essential elements
and its taste and visual appearance depend on these 3.
My Strawberry Shortcake therefore improves endlessly.
このページのための